Showing posts with label wire wrap jewelry. Show all posts

Wednesday, November 25, 2015

Starting out in Wire Wrapping

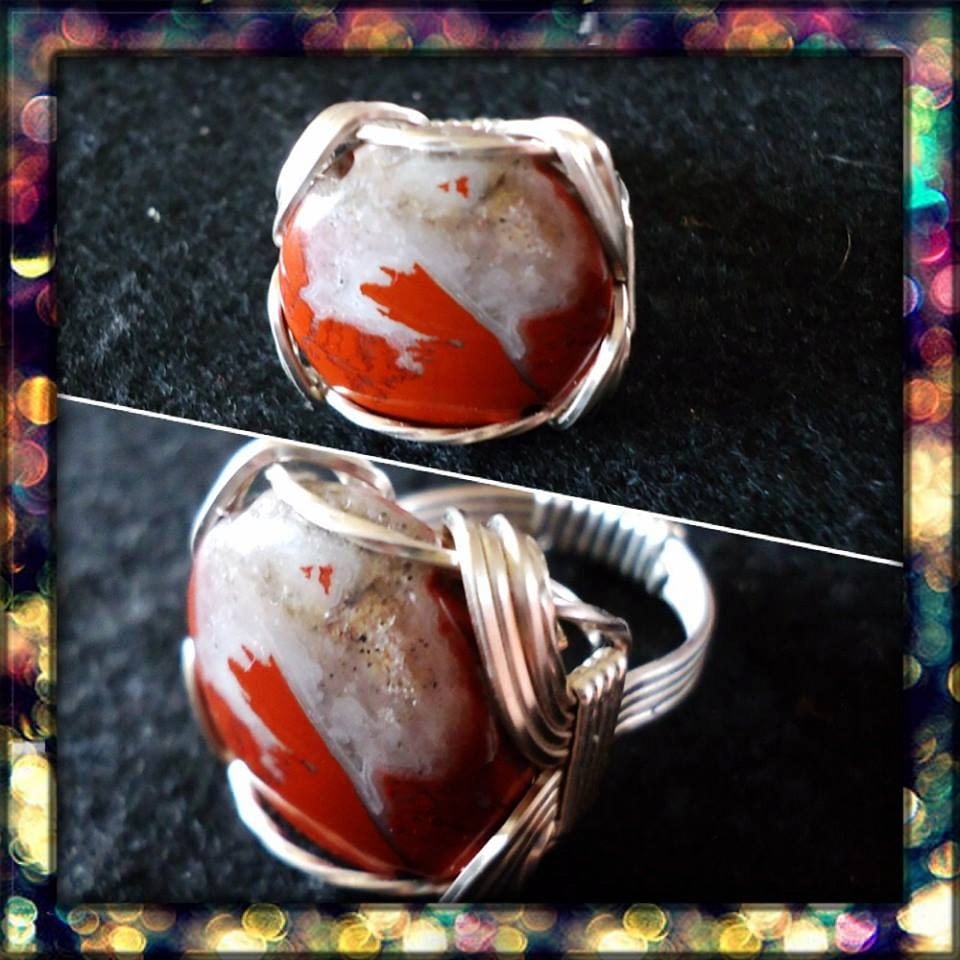
I was originally drawn to jewellery making after seeing a wire wrapped ring that I liked on Ebay. I love mood rings and apart from the cheaply made ones for children they are hard to buy. Finding myself with time on my hands due to health issues I needed something that I could create on a lap tray sat in my chair and jewellery making seemed a good match.

I had imagined stringing beads to make necklaces and similar but soon realised that my fingers were too big and my eyes too poor to enjoy it properly and so I drifted towards wire wrapping. With a few basic tools and some cheap wire I began making rings with terrible results. Almost everything ended up in the bin and I became very frustrated.

I hate it when something beats me so I persevered until I tried to make a pendant and that was when it clicked for me. My first effort wasn't too bad and it gave me the encouragement to continue. I had found my medium! From there my technique improved and I was finally proud of something I had made.

I created nothing but pendants for a while following patterns that I had discovered until I knew them by heart. That allowed me more freedom of expression as I had started out sweating with fear that I would make awful mistakes and waste my meagre materials. I began in August of 2013 and used my birthday and Christmas to ask for more materials as it was hard finding the money.

No one was more surprised than me when my pendants found favour within my family and I was asked to make more. I became a one trick pony making only pendants until my confidence had grown enough to try other things.

I was back at square one again frustrating myself making awful rings and began to think I would be very limited in what I could make. It was only thanks to the encouragement from a friend I had made and admired on a wire wrapping group on Facebook that I continued and very glad I am that I did.

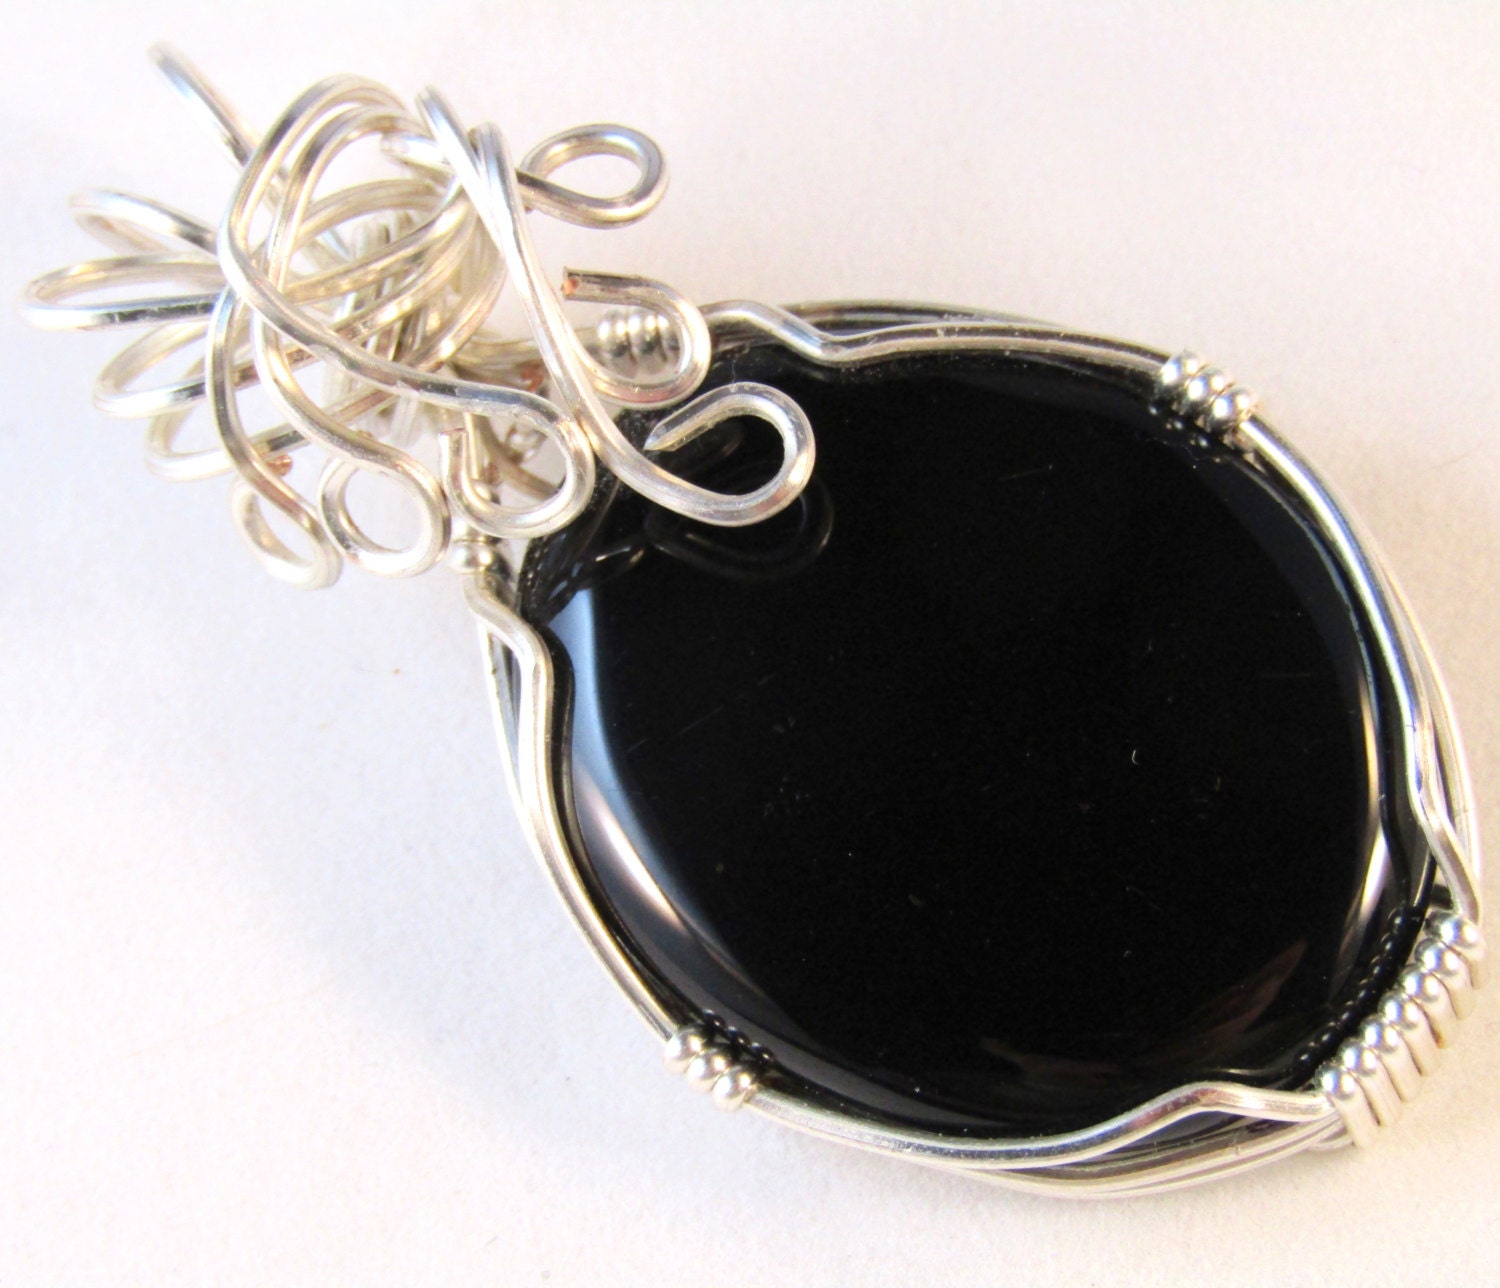
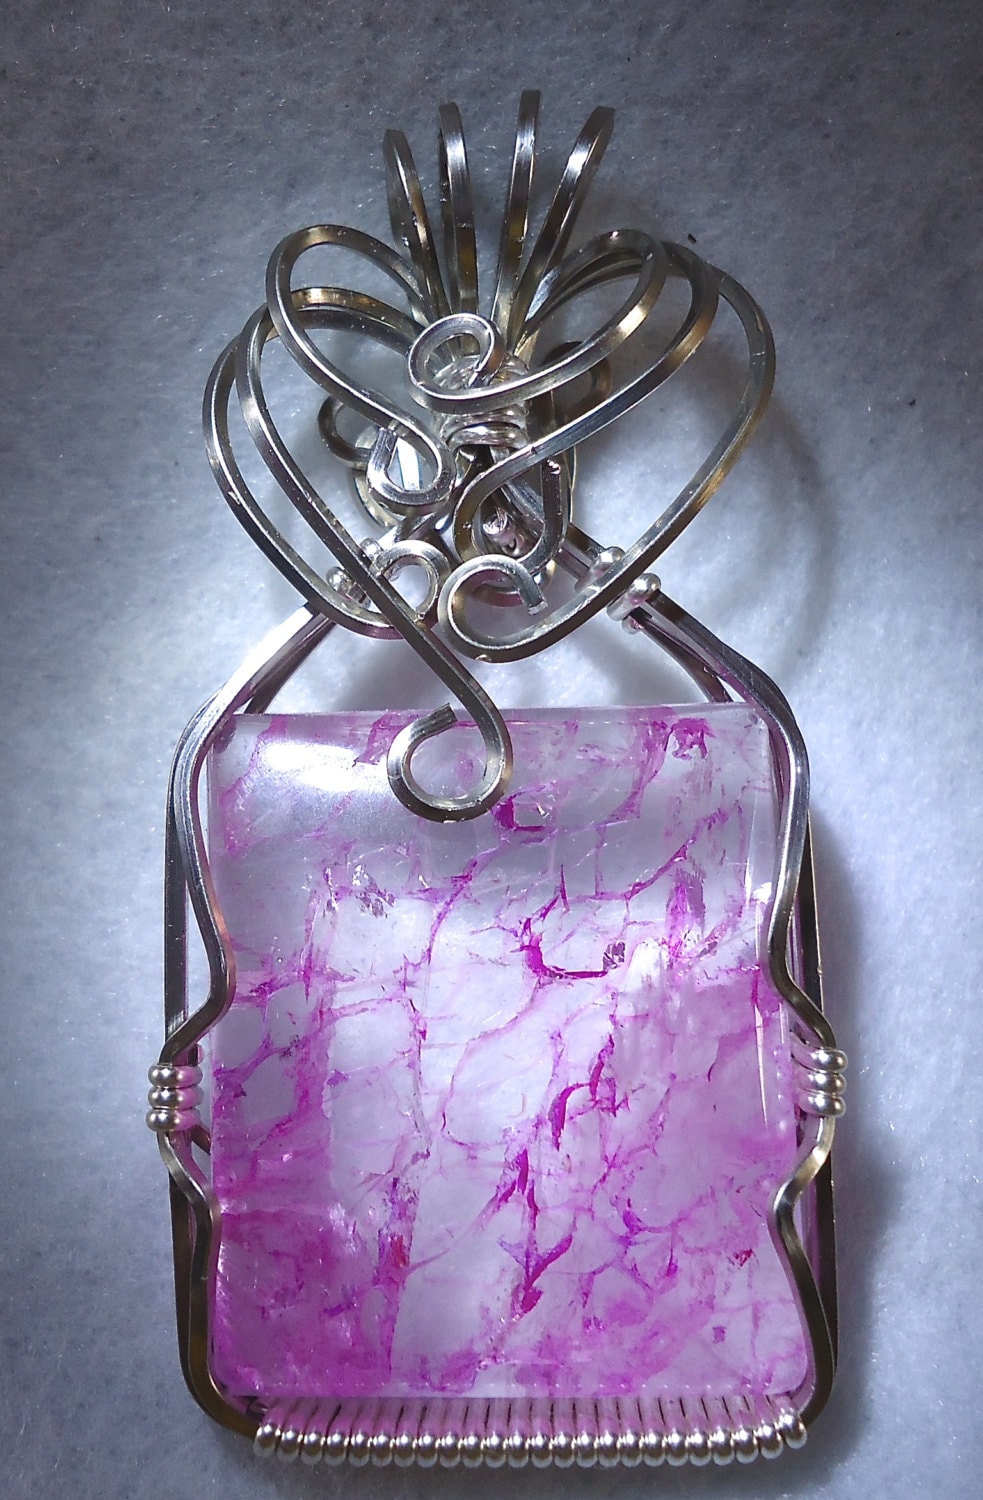
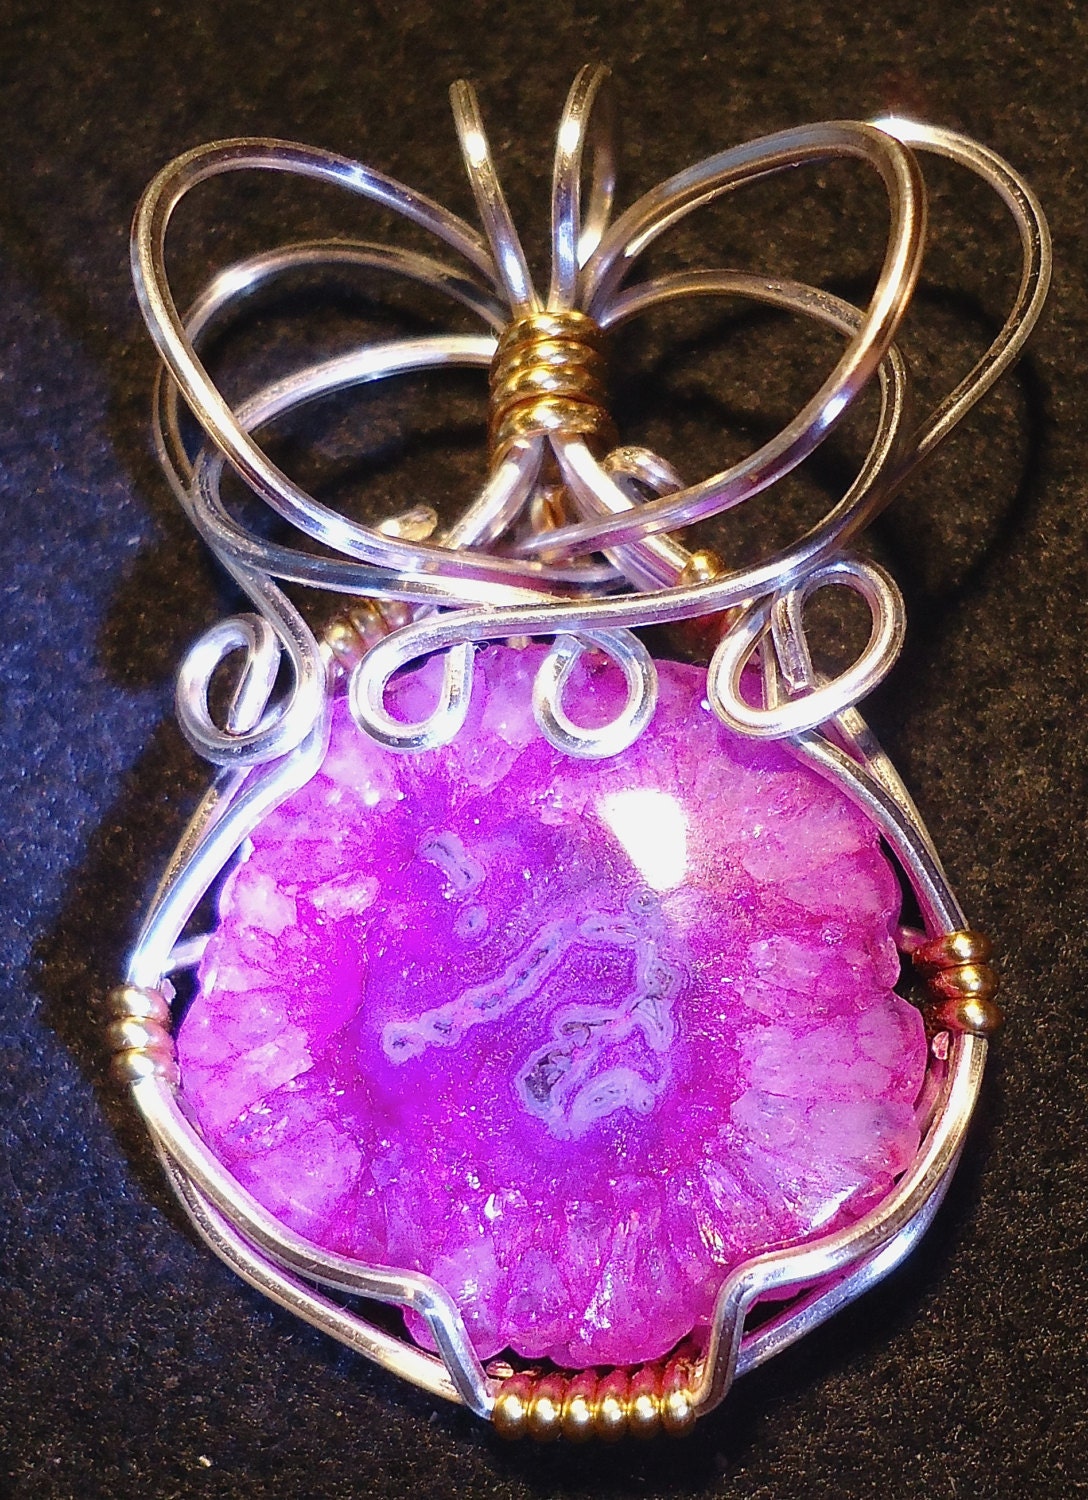
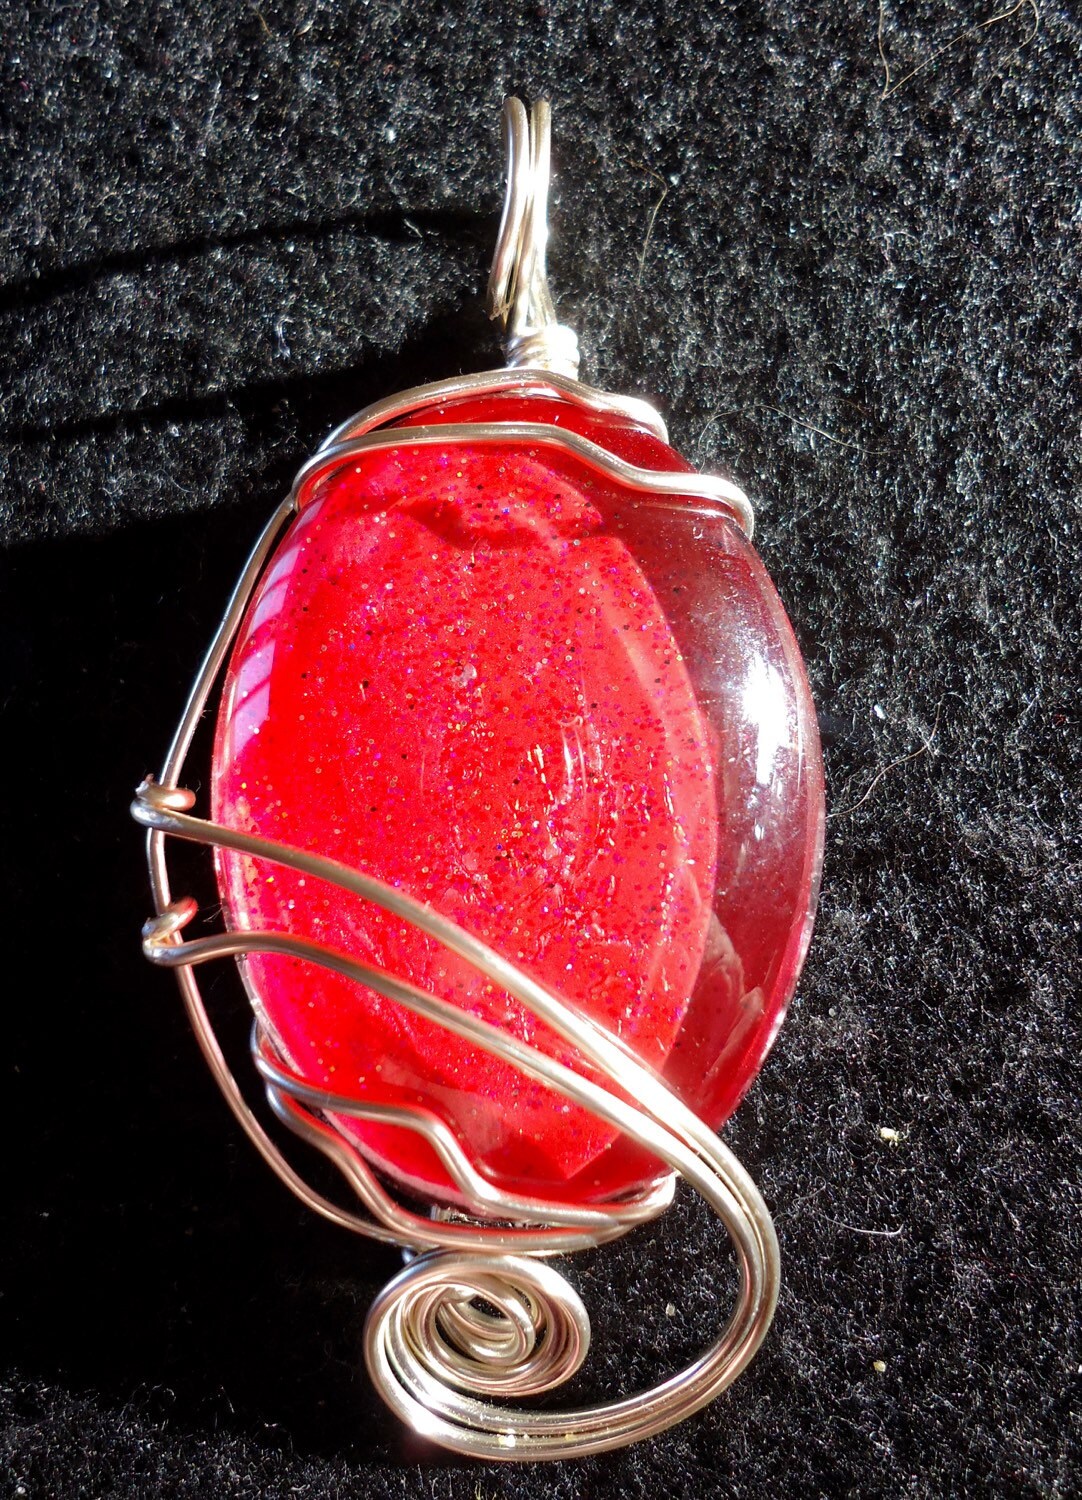
Nowadays I can make most anything but my love continues to be pendants made from cabochons and I make more of them than anything else. I didn't begin wanting to sell my creations and still don't. I wouldn't recognise a trend or a fashion if it hit me in the face and I make things only for my own pleasure. I did eventually open an online store and sell enough to make my hobby free and I have a large stash of gems and wire to keep myself busy. 

If you are just starting with wire wrapping or considering starting please do not let any initial failures discourage you. Every failure brings you one step closer to a success and should be considered to be more  like stepping stones on a journey.

I help a lot of people with their problems from the experience I have had and I'm always wiling to share my sources and resources with anyone who wants them.

Best wishes Mark xx 

Wednesday, May 6, 2015

How To Complete the Wire Wrapped Pendant Bail

Final Wire Wrapping The Bail


On my last post of this series this is where we left the pendant with the bail completed but unadorned. Now we get to the fun part! This is the very best bit for me as I get to express myself trying to make different bends each time. This is where we can create visual interest and show our own style. The world and his brother makes jewellery and we want to be different to them.


Placing my thumb below and finger above I pull outwards on the wires which will cause them to warm and soften as well as putting a gentle bend into them. Doing this a few times will allow you to increase the curve and soften the wires even more which will help in forming them.


Continuing to hold the wires as before I rub the wires with my thumb and place gentle downwards pressure with my finger where I will be making the bend. This softening will allow you to create a nice, gentle curve.


Gripping the end of the wires between thumb and finger I will gently pull the wires down and to the right until they are roughly in the position I want them.


I like to separate my wires to make them more interesting. I will keep them together for some designs but doing it this way makes it look more complex and interesting. It drives my Son crazy trying to work out how I have bent my wires on finished pieces!

Gripping the wires in the 'elbow' of the bend and pressing them together will start them separating.  taking the ends of the wires I will gently pull them until they are equal and uniform and most pleasing to the eye.


The wires can now be trimmed to their final size. The endless variations are where the fun lies for me. The way they are bent and how long I leave them in relation to one another. This is a very simple wrap so it's easy to follow but you can make it as twisty and complicated as you like.


Where the wires have been cut can be a bit sharp and the last thing we want is sharp edges to catch on someones clothes. They can be filed, rounded with a cup burr or as I like curled. When curling the wires back against themselves it does away with any sharp edges and adds more interest.

I prefer to use my bail making pliers for uniformity in my bends but they can easily be done with round nose pliers too. Gripping the end of the wire I curl it back in one movement.


It should look like this.


This is repeated with the other 2 wires so that they look something like this. You can now see why I trimmed them this way.


The right hand wires can be warmed and bent similarly to the left hand wires only this time I have taken them further upwards.


The wires have been separated again in the same way as before.


I have trimmed the wires to their final length. They are different to the left hand side but I like asymmetry. You can bend and cut them any way it looks better to you.


The wires are now bent back on themselves.


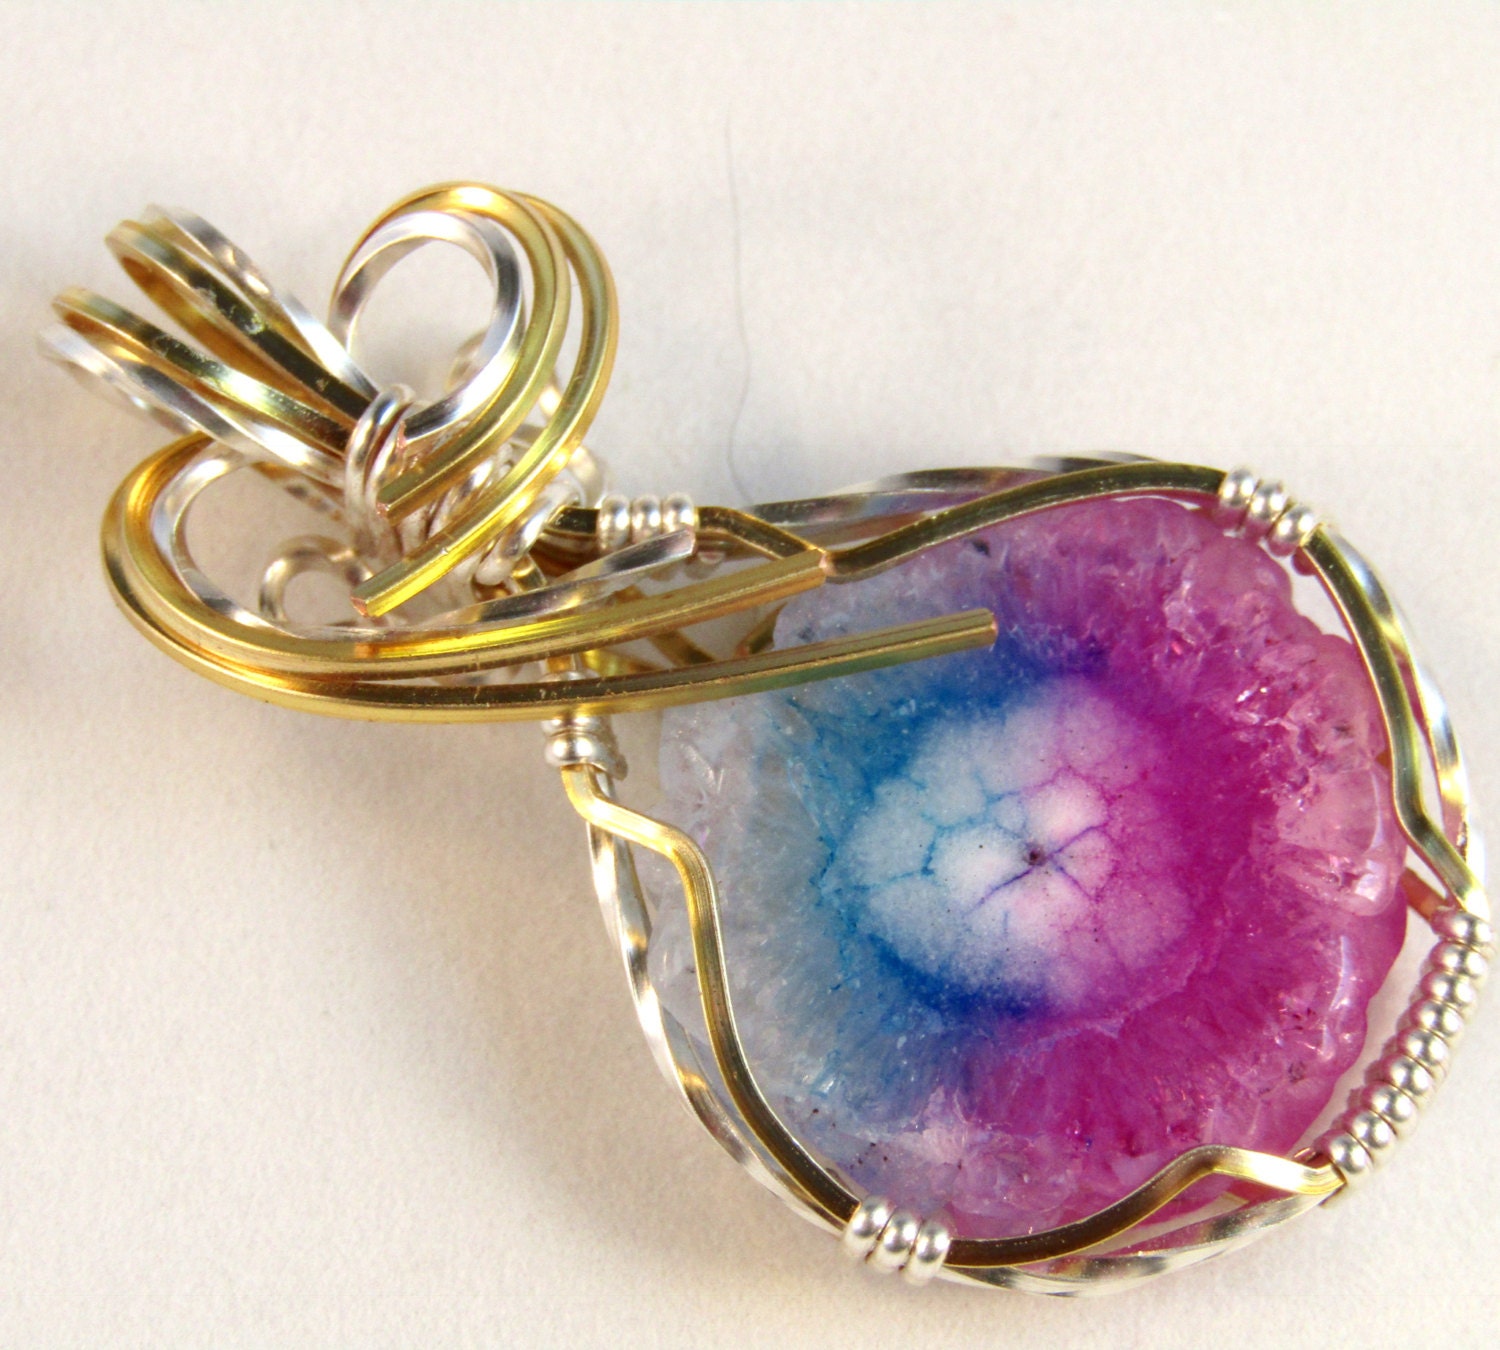
When they have all been curled the piece is just about finished. By now I hope that I have created something pleasing to the eye. I always try to create pieces that are simple and elegant. I don't like to hide the stones beauty with a 'busy' wrap and try to compliment the stone. I will have tweaked the wires just to make them a little more as I want them and then the wrap is finished all bar the polishing.


As I have gone along and my style has improved I make more complex and hopefully beautiful designs.


Tuesday, April 28, 2015

My Sources Of Gemstones For Wire Wrapping

I am often asked where I manage to find the beautiful stones that I use in my jewellery designs. It isn't a completely straightforward answer I'm afraid.

I buy stones from a variety of sources. I have contacts in India, China, USA etc that I have made so that I can buy direct at good prices and as time goes by I'm sure you will make your own networking efforts pay off in similar ways. It's dealing with individuals you have known for a while and come to trust and it may often mean you need to bargain a little to get the best prices.

Ebay is always a good source for both strings and individual gems but you have to be cautious. Not all gemstones are genuine. China is particularly good at faking gemstones and sells them to unwary bidders in huge numbers. Once again you will come to know the better dealers and stick with them once you have had the opportunity to sample their wares.

Other jewellery makers can be a good source for acquiring gems in swaps. Everyone has stones in their stash that no longer seem as appealing or never did perhaps being bought as part of a bundle. For whatever reason there are stones you will probably never use and very many of us are gemstone addicts and can't help buying more and more gemstones. I have probably acquired enough gemstones to last me several lifetimes but I'm always attracted to pretty new things. What you can't use another can and swaps are commonplace and an easy way to get rid of your unwanted stones for someone else's.

Gem and rock shows are a gem addicts heaven (or hell if you run out of money). More lovely things than you could shake a big stick at and all at different quality and prices. It strikes me as madness to buy glass or plastic beads when genuine gemstones can be bought for little more and sometimes much less.

Online suppliers are everywhere and can be confusing in their sheer numbers. Depending on what I need at the time- and I buy a lot of things that are not gemstones such as tools, glue, wires etc - I go to different suppliers. It always pays to shop around if getting good prices are important to you.

My main source of gemstones is www.jewellerymaker.com which is a television sales channel. Their website is always good value for money and everything they sell is good quality. They have a 30 day no quibble returns policy which I know from personal experience is excellent. There is only one postage charge per day @ £2.95 for the UK no matter how much or how many items you order. They transmit 12 hours a day from 9 am to 9 pm before the show is uploaded to you tube and is a combination of live sales, demonstrations and masterclasses.

Experts demonstrate in a range of multi media subjects and is a very valuable resource for that alone. If you are able to watch the show live however is the best way to buy at VERY good, reduced prices. The presenters are knowledgable and amusing in their delivery and I enjoy the show very much. I usually have it on in the background until something of interest to me comes up either in a demonstration or gemstones and tools.

Please feel free to contact me on Facebook - https://www.facebook.com/wirewizardz or by email hargreaves_mark@sky.com and I'll do my best to help.

Saturday, February 7, 2015

Umbron is my new Dragon Eye Pendant Design.


UMBRON
Julie has done me really proud once again with her creation of a new Dragon eye. His name is Umbron and I have wrapped him in pure copper. I'm hoping you will like him as much as I do as he is a fantastic colour. His story is below for you.


Umbron was known as a particularly viscious fighting Dragon. What he lacked in size and strength he more than made up for in sheer aggression. Look into his eyes and understand that he will do the unthinkable amongst Dragonkind. He won't just kill you but eat you too. He was destroyed following a match in the fighting cages of Ynysmon where blood lust drove him to attack and kill several high born fight fans.

Ooooh! What a naughty boy Umbron turned out to be! Not all my Dragon stories are sunshine and rainbows. I like them to have a little danger. Lol.


Umbron is now available in my store.

https://www.etsy.com/uk/listing/221753115/umbron-a-blue-dragons-eye-wire-wrapped

Wednesday, February 4, 2015

Pharoah rings Now posted on my Etsy store.

I usually make pendants as I love to make them but some days I get a hankering to make rings. I don't normally sell them as I make them for my own amusement mainly. Very often I send them out to my customers to thank them for orders, especially repeat customers.

I like to make simple rings and there are days that's all I do. I also find it very relaxing to make more complicated designs such as the Pharoah ring. They take a lot longer to make and even more so if I wrap the entire shank.

These are a couple of rings that I have listed in my store today and I hope to list a few more over the coming days.

https://www.etsy.com/uk/listing/221371269/adidron-a-dragon-eye-pharoah-ring-size

Dragon eye pharoah ring


https://www.etsy.com/uk/listing/221367904/tigers-eye-pharoah-ring-size-w-11


Tigers eye pharoah ring

Best wishes - Mark xx

Tuesday, November 25, 2014

Creating The Setting For Our Wire Wrapped Pendant Part 2

Wire Wrapped Pendant Setting

I'm sorry that it is taking me so long to put all these things together for you but Blogger is only letting me add so many pictures and then it stops working. Any way . . . to carry on from  the last post.

Once I have moved the 2 side wraps into position I will fix them by giving them both a good squeeze with my flat nose pliers. Turning it over I give them another squeeze. That should keep them in place for me.


Offering the wrap up to the stone shows that it is roughly the right shape. The middle wraps are in the right place and I can tweak it if the central wrap has gone off centre.


I will start to form the setting from the back. I like to do the back first as it allows me to sit the stone in it for fitting. Gripping the bottom of the square wires with my flat nose pliers and holding the middle wrap I turn it inwards. I hold the middle because it helps me form a gentle arc with the bend.


As it is the back it isn't so important as when we form the front but it should be looking something like this.


I will now do the same to the other side exactly as the first turning the wire inwards. With every bend there is the chance that it will deform the frame so you have to keep offering it up to the stone and checking. It only takes seconds but it could mean a lot to your wrap.


Having formed the bottom I will move the upper 2 wraps into position near the top of the stone. Once I'm happy with where they are I will fix them in position as earlier with a squeeze either side with the flat nose pliers.


Just as I formed the bottom turns I will do the same with the top using my flat nose pliers. I will still grip the middle wrap between my thumb and finger to create a gentle curve.


And this is how it looks.


Moving to the other side I do the same bending inwards. If you are just starting out it's probably better to bend in less than you think you need as you can always tweak it a bit further.


Because I am using a cabochon it will be flat (ish) on the back and curved on the front. By placing my flat nose pliers into the bend I can ease the wires up allowing for the curvature of the stone. I need to for this for each bend.


The stone should now sit nicely in the setting so that it can be checked for alignment. Holding the top wires together like this I can see that the bottom isn't a tight fit. This can often be sorted by opening the setting and closing it again on the stone. If the gap is still too much a few gentle taps with a plastic headed hammer will fit it tight to the stone.


Sorry the image is a bit blurry but it does make it look like I'm hitting it with the hammer!


After a few taps the stone will be fitting much better. The sides aren't quite so important as they will be pulled in tight when closing the setting but if necessary I will turn it onto it's side for a few taps as well.


Removing the stone I need to form the front of the setting in the same way as the back. I probably won't bend them in quite so much as the back of the setting as that will seat the stone and I only need to hold it down. In bending the wires up to allow for the curvature of the stone I will need to pull them up further than the back. You have to be carfeul using tools this way as it is easy to leave marks on the wires if you use force. Gently lifting them will give you a better finish.


We are creating a cage to hold our stone in place and this is what it looks like once all the wires have been bent for the curvature of the stone.


Inserting the stone back in the setting it may need a little adjustment with the plastic hammer to get it to fit tightly. This is the last chance to make any adjustments to the setting or the placement of the stone as the next step will fix it all in place before making the bail. Taking a minute just to check it all over will save any mistakes later.

In the next post we will start work on the bail and adding some flourishes to make the wrap interesting and (hopefully) beautiful.